Hull Rupture Defense: Match Turrets to Alien Routes
Plan hull approaches, range and debuffs before the Airlock becomes the last defense, with clear limits on untested builds and old demo advice.
What are you trying to stop?
In Classic Mode, survive 20 alien waves while keeping Despot alive. The launch FAQ gives the decisive loss condition: if Despot reaches 0 HP, the run ends. Your economy therefore needs defenses, but defensive purchases must also leave enough resources to sustain that economy.
The combat devlog describes aliens landing on the upper and lower hull and travelling toward the Airlock. Internal corridors can create additional paths. A ship’s shape affects where attackers travel and which guns have a useful shot.
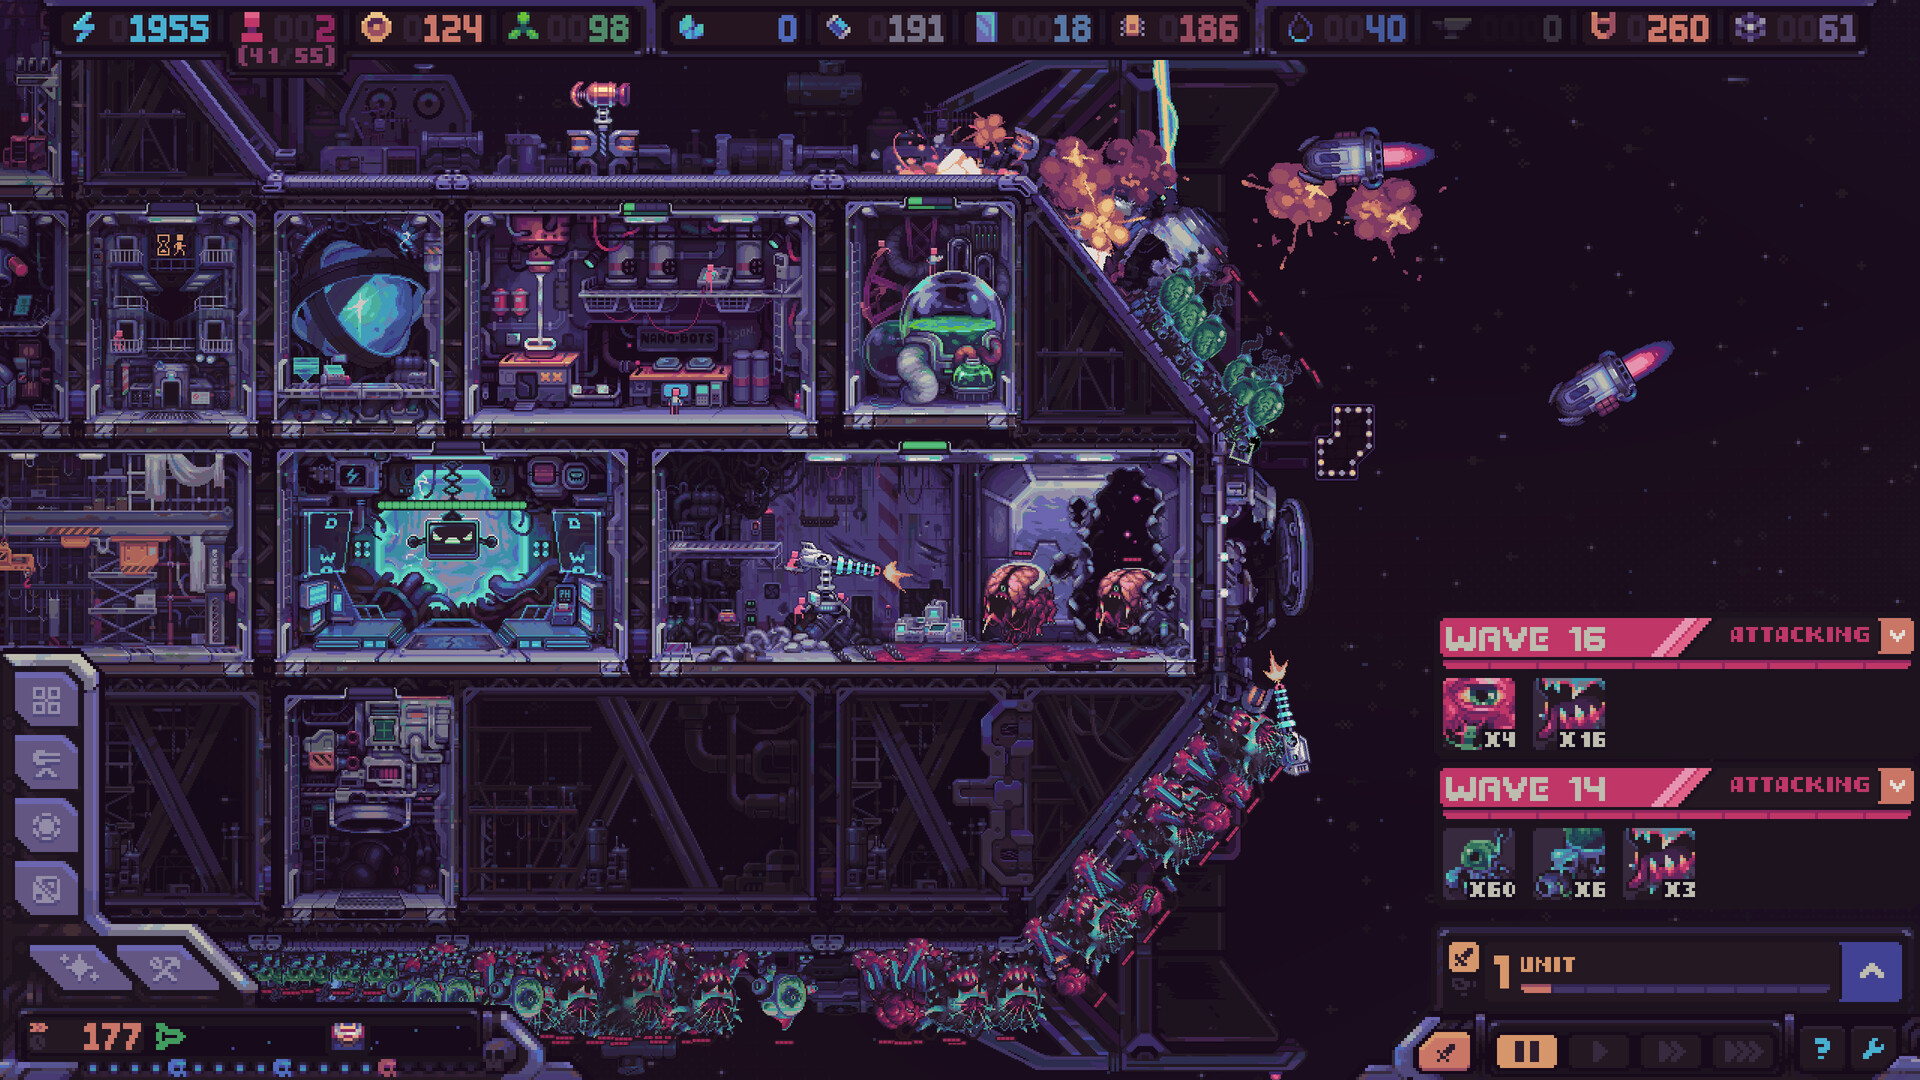
Official store illustration, © Konfa Games / tinyBuild; not our gameplay capture or proof of a particular full-release rule.
How should a lane affect your turret choice?
| Route characteristic | Documented planning direction |
|---|---|
| Long, straight approach | Consider range and weapons that hit through several targets |
| Twisting or enclosed section | Consider short-range weapons and ricocheting projectiles |
| Extended approach to the Airlock | Create more firing opportunities before the last defensive line |
| Compact module arrangement | Preserve adjacency effects and shorter crew travel |
These comparisons do not establish a universal turret ranking. Read the actual equipment’s range, firing behavior and resource requirements in your current game. A powerful weapon in a poorly matched position can be a worse investment than one suited to the lane.
The shop guide connects that choice to what you can currently produce.
Should you extend the hull to slow a boss?
The October construction log says bosses land at the far-left, upper part of the ship, furthest from the Airlock. It suggests giving them a longer route so they do not arrive together at the final defense. The same log discusses a spiral outside the Airlock as an unintended player-created approach.
Use that as a reason to inspect your route, not a guaranteed blueprint to copy. Hull blocks cannot be removed after placement in the published construction rules, so a speculative extension is a permanent commitment. Check Hull Construction before adding a corridor that harms module space or crew travel.
Is damage alone enough?
The developer identifies slowing, poisoning and increasing received damage as examples of useful debuffs. The intended build combines route shape, firing mechanics, debuffs, artifacts and modifiers; raw damage alone can leave gaps in how a defense handles a wave.
Start with the actual tools you have. If you are losing a particular approach, identify whether enemies receive too little firing time, your gun cannot exploit the lane, or the economy cannot support the equipment you want. Then change the corresponding part of the plan.
Artifacts and modifiers can alter that choice. Do not follow an old icon-based combination without reading its release-build effect.
Should you rely on units inside the Airlock?
The September rebalance states the intended emphasis clearly: turrets should be the main defensive system, while units at the Airlock provide a safety net. The developer still calls unit-focused play viable; it does not declare every such build invalid.
Committing humans to units also changes your available workforce. Review both costs before solving every defensive problem with more personnel.
If an unexpected breach appears to be a bug, capture the wave, hull layout, attack route and relevant equipment in the official discussions. This guide does not claim a tested exact wave-20 build.
Which developer explanations support this plan?
- Launch FAQ: Classic and Despot’s loss condition.
- Combat devlog: lanes, weapon behavior and debuffs.
- Construction deep dive: boss approach and layout trade-offs.
- September rebalance: turrets and Airlock units.
Checked November 5, 2026. Earlier design logs explain principles; current numerical balance and a guaranteed success rate are not established.
Related Articles
guides
Hull Rupture Hull Construction: Placement Rules and Empty Slots
Separate launch module-slot rules from permanent hull placement: paused flight, rotation limits, paid skips and routes to the Airlock.
guides
Hull Rupture Achievements: Check Mode and Difficulty Before a Run
Plan around the 64 official achievement conditions, separate stock and rate targets, and avoid Easy-mode or cross-difficulty assumptions.
guides
Hull Rupture Artifacts and Modifiers: Read Effects Before Buying
Separate artifact unlocks from module modifiers, avoid old demo icon mistakes and check whether an effect actually supports your current ship.
Was this helpful?
Thanks for the feedback!